Solution
This section explains about how to use the supplied software (ZoomBroweser EX) to change the sizes or types of the movies captured.
Caution
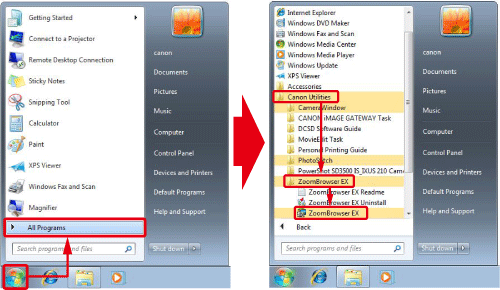
1. Double-click the [ZoomBrowser EX] shortcut icon on your desktop to start [ZoomBrowser EX].

If you cannot find the [ZoomBrowser EX] shortcut icon on your desktop, click [Start] (
2. Select the Movie (


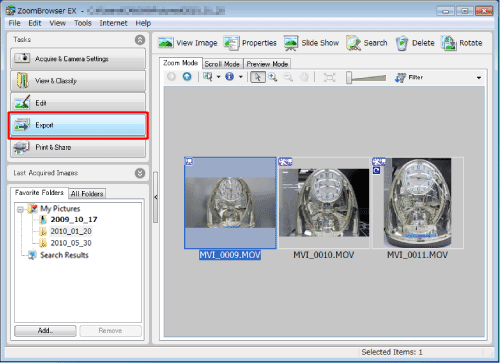
Caution
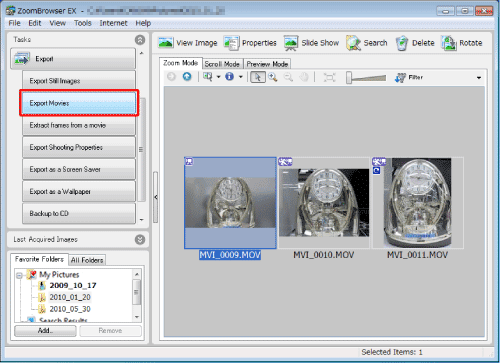
3. Click [Export Movies].
4. The following screen appears.
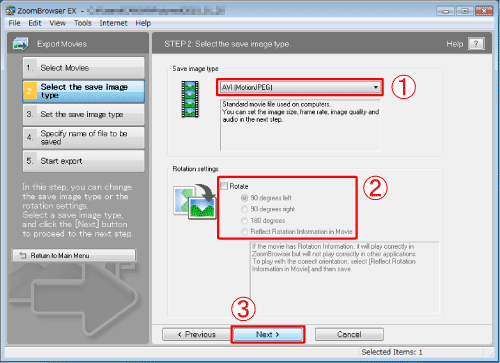

The [AVI (MotionJPEG)] format is generally used in computers, so it has an advantage in compatibility.
The [MOV (H.264)] format can be used to reduce the file size while maintaining high image quality.


5. The following screen appears.
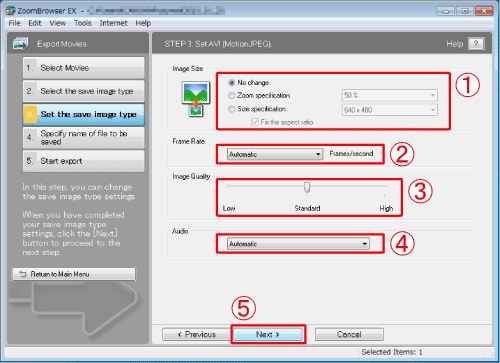
Make 


(If [Save image type] is set to [MOV (H.264)], 
After having set all the items above, click 
6. The following screen appears.
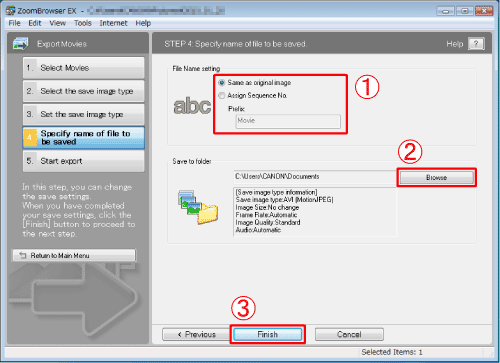

To change the location where the file is saved, click 

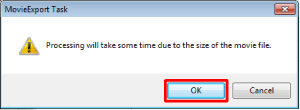
7. If the following window appears, click [OK].
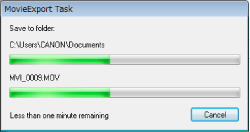
The following window appears while the movie file is being exported.
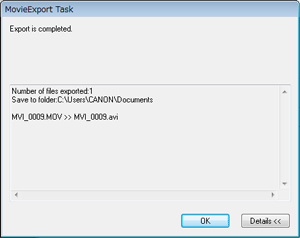
8. When the file export is completed, the following window appears.

Click [OK] to end the export.
If you click [Details] in the window above, the following screen appears, so you can check the file name and the location where the file is saved again.
This completes the file export procedure.


