Solution
Downloading Canon XF Utility from the Canon homepage and installing it on a computerInstalling Canon XF Utility from the Canon XF Utilities Disc
Uninstalling Canon XF Utility
Uninstalling Canon XF MPEG2 Decoder
To use Canon XF Utility, the software must be installed on a computer. The installation and uninstallation procedures in Windows are explained in the sections below.
Caution
Downloading Canon XF Utility from the Canon homepage and installing it on a computer
Download the Canon XF Utility software from the Canon homepage and install it on the computer.
Caution
The installation procedure for Canon XF Utility is explained below.
1. With a computer connected to the Internet, access the Canon homepage and download the Canon XF Utility software.
2. Double-click on the downloaded 'xuw-*****.zip' file.
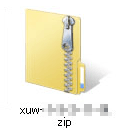
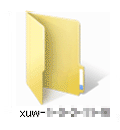
3. The file will be extracted. Double-click 'xuw-*****'.
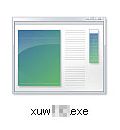
4. Double-click 'xuw***.exe'.
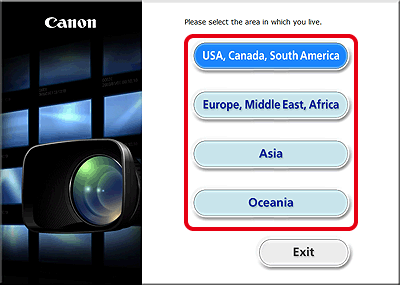
5. Select your region. If you selected [Asia] or [Oceania], skip to step 7.
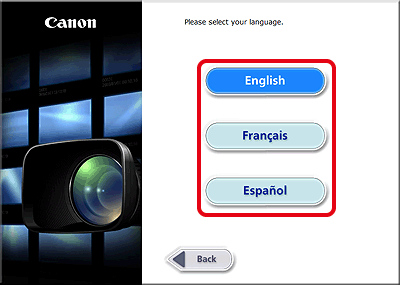
6. Select the language to be displayed during installation.
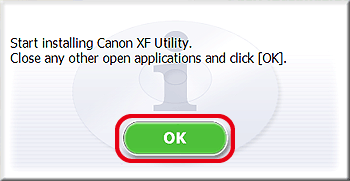
7. After the message appears prompting you to exit other applications, exit other applications and then click [OK].
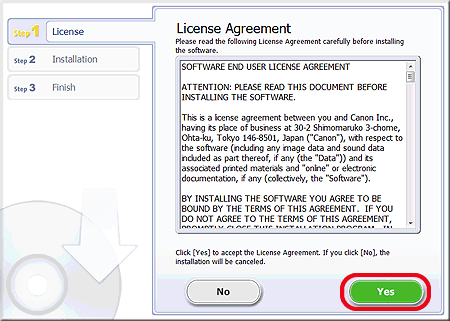
8. Read the license agreement and click [Yes] to begin the installation.
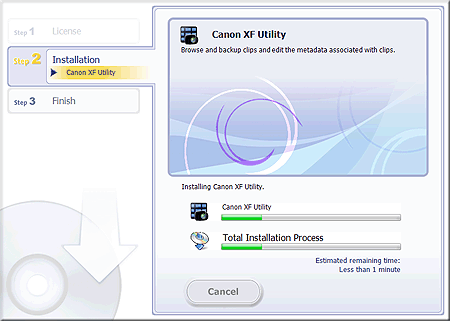
9. Installation begins.
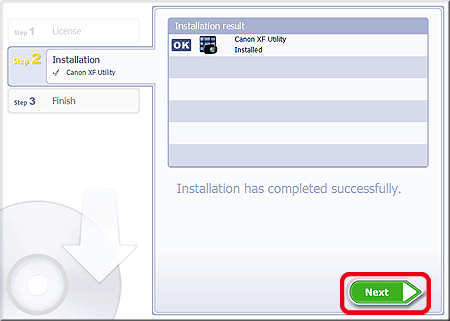
10. When the installation has completed, 'Installation has completed successfully' appears. Click [Next].
11. Click [Finish].
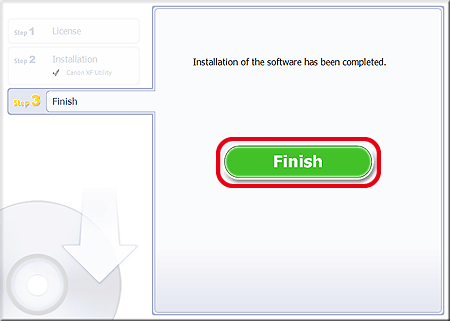
This concludes the explanation of the procedure for installing Canon XF Utility.
Installing Canon XF Utility from the Canon XF Utilities Disc
1. Insert the Canon XF Utilities CD-ROM into the computer.
Caution
The installation screen appears. If it does not, follow the steps below.
2. Select your region. If you selected [Asia] or [Oceania], skip to step 4.

3. Select the language to be displayed during installation.

4. Select an installation method.
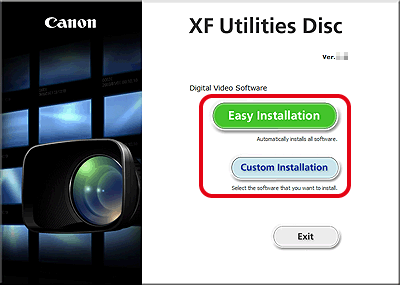
5. The following window appears, so close any open applications, and then click [OK].

6. If you selected the [Custom Installation]* installation method in step 4, check whether Canon XF Utility is selected, cancel the selection of unnecessary applications, and then click [Next].
*If you selected the [Easy Installation] installation method, skip to step 7.
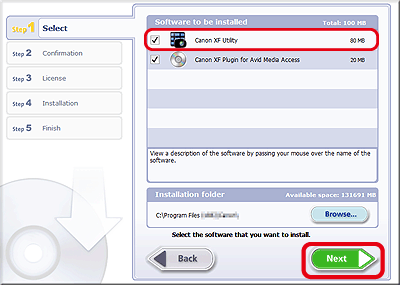
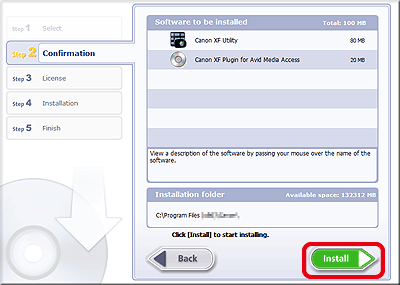
7. Click [Install].
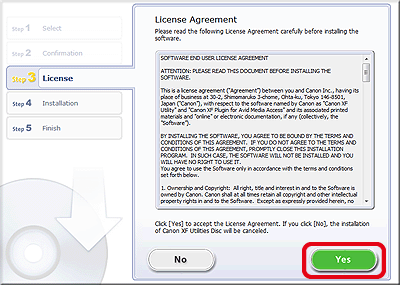
8. Read the license agreement and click [Yes] to begin the installation.
Caution
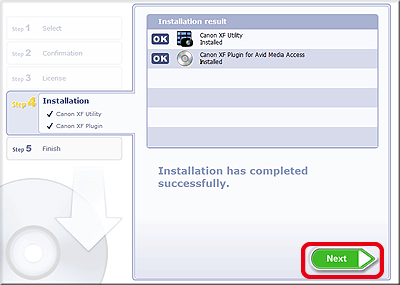
9. Click [Next].
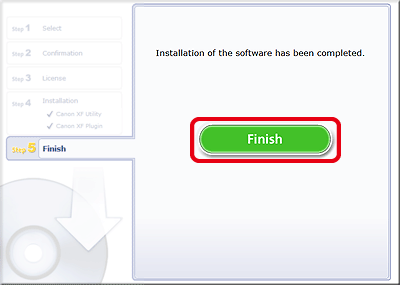
10. Click [Finish].
11. Remove the CD-ROM from the computer.
Uninstalling Canon XF Utility
1. From the Start menu, select [All Programs] -⋗ [Canon Utilities] -⋗ [Canon XF Utility] -⋗ [Uninstall Canon XF Utility].
2. Click [Yes] to begin the uninstalling the software.
When the software has been uninstalled, [The software has been successfully uninstalled] appears.
3. Click [OK].
Uninstalling Canon XF MPEG2 Decoder
1. In the Control Panel, open [Programs and Features] (Windows Vista/Windows 7) or [Add or Remove Programs] (Windows XP).
2. Select [Canon XF MPEG2 Decoder].
3. Click [Uninstall] / [Uninstall/Change] (Windows Vista/Windows 7) or [Change/Remove] (Windows XP).
4. Follow the onscreen instructions.


