

Solution
Caution
Caution
We recommend using genuine Canon photo media when printing photographs. For details on the specialty media Canon provides for use with its various printers, see[ Compatible Media Types ].
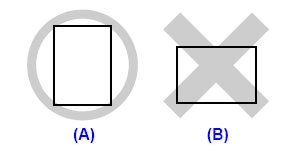
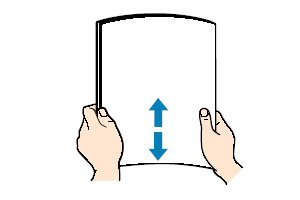
1. Flatten the four corners of the paper before loading it.
Caution
- Put unused paper back into the package and keep them on a level surface.
- Take out only the necessary number of sheets from the package, just before printing.
2. Prepare to load paper.
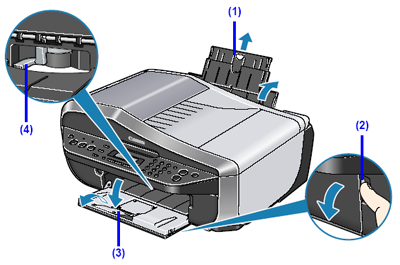
(1) Open the Rear Tray and pull out the Paper Support.
Put your finger in the rounded indent of the Paper Support and pull it out until it stops.
(2) Open the Paper Output Tray.
Put your finger in the rounded indent beside the Paper Output Tray and open it gently.
(3) Open the Output Tray Extension.
Open up and set the Output Tray Extension completely by pressing down the hollow on its front side.
(4) Adjust the position of the Paper Thickness Lever.
Set it to the right when printing on envelopes or T-shirt transfers, and left when printing on any other type of paper. See [ Compatible Media Types ].
Caution
If the corners or edges of the paper are smudged, try to print with the Paper Thickness Lever set to the right. It may improve print quality.
Reset the Paper Thickness Lever to the left when you finish printing.
3. Load the paper.
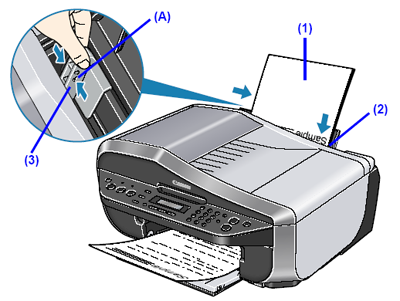
* Do not load higher than the Load Limit Mark (A).
(1) Load the paper in the Rear Tray with the print side facing UP.
(2) Align the paper stack against the right side of the Rear Tray.
(3) Pinch the Paper Guide and slide it against the left side of the paper stack.
4. Specify the page size and media type settings according to the loaded paper.
Caution