Methods for setting the flash are explained in the following sections.
Setting the Flash to Fire for Each Shot (On)
When the [Flash] is set to [Auto], the flash does not fire if the surroundings are light. However, when shooting a backlit subject, the flash can be used to prevent the subject’s face from being obscured by shadows.
The procedure for setting the flash to fire for every shot is explained below.
Caution
[ 


1. Turn the camera on.
2. Move the [ 
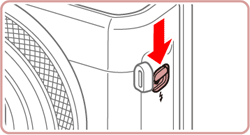
3. Press the [ 


Caution
 ] button when the flash is lowered. Move the [
  ] switch to raise the flash, then configure the setting.
4. The flash setting screen appears.
Press the [ 


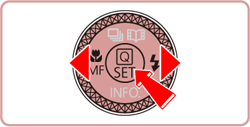
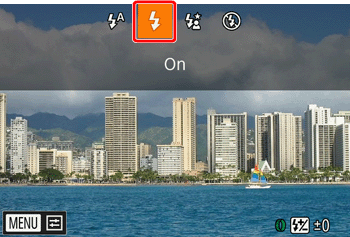
5. When the icon displayed on the screen changes to [ 
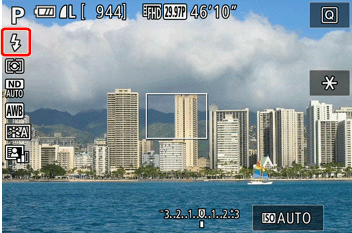
Caution
The following four flash modes can be set.
For more information about each of the individual modes, please refer to the camera’s instruction manual
[Auto: 
[On: 
[Slow Synchro: 
[Off: 
[Raise the flash] is displayed
When shooting in [AUTO] mode or [Hybrid Auto] mode in low-light conditions, [Raise the flash] may be displayed on the camera’s screen. In this case, please move the [ 
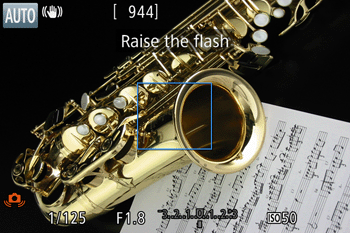
When the message shown above is displayed, please move the [ 

Flash Range
If your shots are dark despite the flash firing, move closer to the subject.
For details on the flash range, please refer to the table below.
Maximum wide angle ( ) ) | 50 cm – 7.0 m (1.6 – 23 ft.) |
Maximum telephoto ( ) ) | 40 cm – 4.0 m (1.3 – 13 ft.) |


