Raise the [ISO speed] to use a fast shutter speed when you wish to reduce the effects of camera shake or avoid blurry subjects, or to turn the flash off when shooting in a dark area.
Also, with [ISO AUTO] selected, you can set the maximum ISO speed, or select the rate of change.
Caution
 ] mode.
- [ 


*Options vary depending on the assigned shooting mode.
Setting the ISO Speed
Set the ISO speed to [AUTO] for automatic adjustment to suit the shooting mode and conditions. Otherwise, set a higher ISO speed for higher sensitivity, or a lower value for lower sensitivity.
1. Turn the camera on.
2. Press the [ 


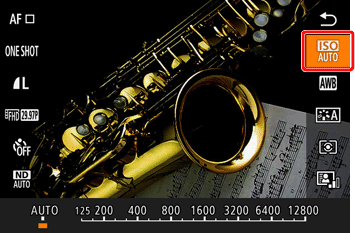
3. Press the [ 


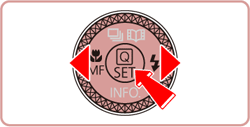
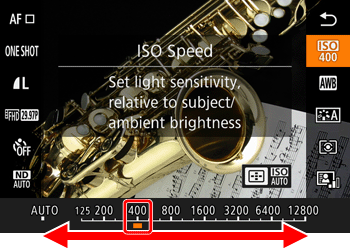
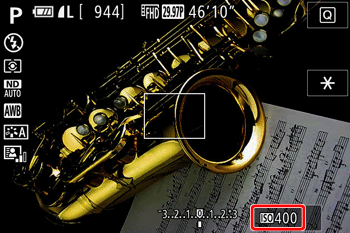
4. When the ISO speed you selected appears on the screen, the setting is complete.
[Overview of ISO Speed Settings]
| Shooting Environment | ISO Speed Setting |
| Automatically adjusts the ISO speed to suit the shooting mode and conditions. | AUTO |
| For shooting outdoors in fair weather. | 125 / 160 / 200 |
| For shooting in cloudy conditions, or at twilight. | 250 / 320 / 400 / 500 / 640 / 800 |
| For shooting night scenes, or in dark rooms. | 1000 / 1250 / 1600 / 2000 / 2500 / 3200 / 4000 / 5000 / 6400 / 8000 / 10000 / 12800 |
Caution
 [
[  : ISO Speed ]
  [ISO Speed].
Adjusting ISO Auto Settings
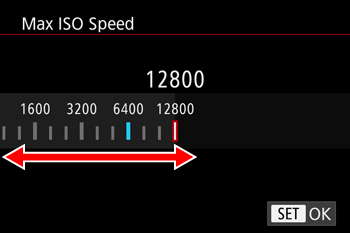
When the camera is set to [AUTO], maximum ISO speed can be specified in a range of [400] – [12800], and sensitivity can be specified in a range of three levels.
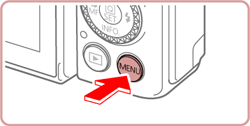
1. Press the [MENU] button.
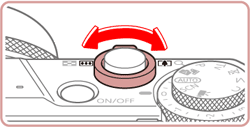
2. Choose the [ 
 : Move the zoom lever to choose the [
  ] tab.
 : Press the [
  ] , [
] , [  ] buttons to choose [
  ].
].
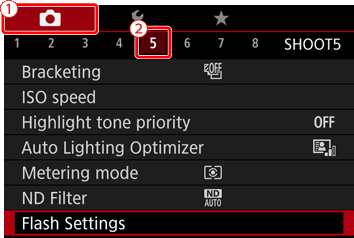
3. Press the [ 


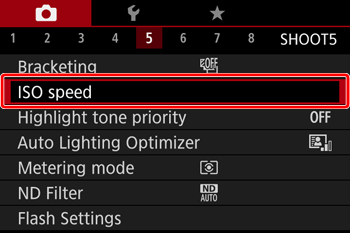
4. Press the [ 


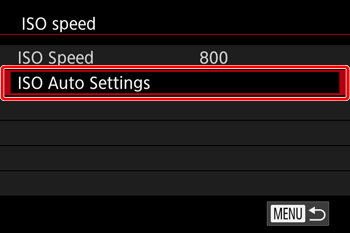
5. Press the [ 


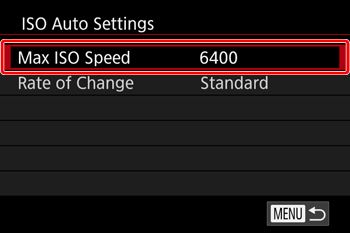
6. Press the [ 


7. Perform steps 1 to 4, display the [ISO Auto Settings] screen, and then touch [Rate of Change].
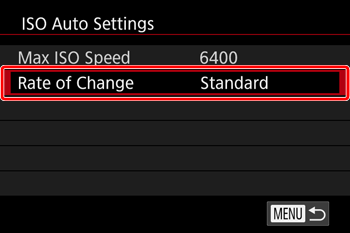
8. Select the desired rate of change from the 3 options listed ([Standard], [Fast], or [Slow]), and then press the [ 


