Solution
Confirming the OS version and installing Camera ConnectOperating the camera to send images
Operating the smartphone to send images
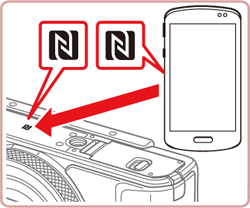
Use an Android (OS version 4.0 or later) smartphone’s NFC to simplify the process of installing Camera Connect and connecting to the camera.
Operation when devices are initially connected via NFC varies depending on the camera mode when the devices are touched together.
Caution
 icon, and camera setting procedures are indicated by the
  icon.
icon.- Avoid strong impact between the camera and smartphone. This may damage the devices.
- Depending on the smartphone, the devices may not recognize each other immediately. In this case, try holding the devices together in slightly different positions. If connection is not established, keep the devices together until the camera screen is updated.
- If you try to connect while the camera is turned off, a message may be displayed on the smartphone screen asking for the camera to be turned on. Turn the camera on again, and then touch the devices together again.
- Do not place other objects between the camera and smartphone. Also, note that camera or smartphone covers or similar accessories may block communication.
Caution
Confirming the OS version and installing Camera Connect
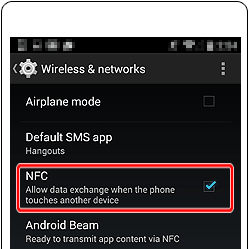
In order to connect an Android smartphone to the camera via NFC, Android™ OS version 4.0 or later and Camera Connect must be installed on the smartphone.
Caution

To confirm the Android™ OS version information, check the [Settings] menu ( 


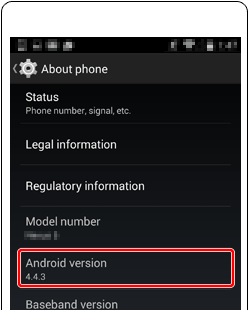
Caution




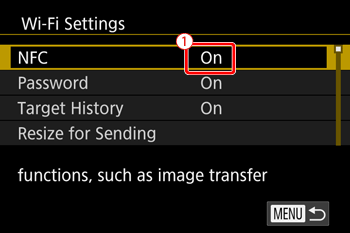
 ] , [
] , [  ] buttons to change the setting to [On].
Caution


If Camera Connect is already installed on the smartphone, please proceed to [Operating the camera to send images], or [Operating the smartphone to send images].
Caution
 ] (N-mark). In this case, try touching the N mark on the camera to the back of the smartphone to locate the NFC touchpoint. For more information on the location of the touchpoint, please refer to the smartphone’s instruction manual.
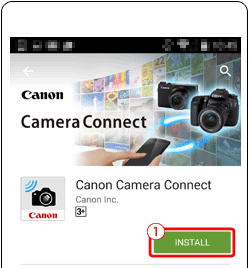
When the Camera Connect download screen is displayed, touch (

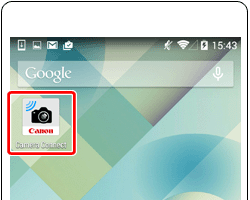
This completes the procedures for confirming the OS version and installing Camera Connect.
Operating the camera to send images
Procedures for selecting images with the camera and sending them to the smartphone are explained below.
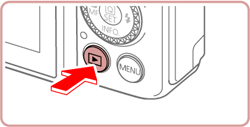
In order to send images using this method, the camera must be set to playback mode.
Caution


Caution
When Camera Connect is not installed, Google Play™ will start up and the Camera Connect download page will be displayed when you attempt to connect the camera and the smartphone via NFC. In this case, please download and install Camera Connect.

Caution
 ] , [
] , [  ] buttons to choose [OK], and then press the [
  ] button.
 ) is displayed.
  ] , [
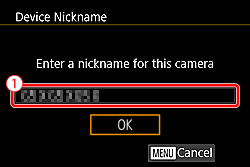
] , [  ] buttons to choose the [Nickname] field, press the [
  ] button to display the keyboard, and then enter the desired nickname. After you have finished entering the nickname, press the [ MENU ] button to return to the registration screen, press the [
  ] button, choose [OK], and then press the [
  ] button.
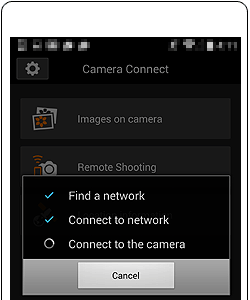
Caution
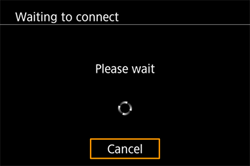
During connection, the following screen appears on the camera.


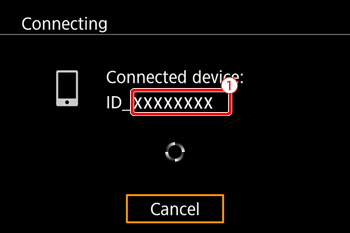

 ] , [
] , [  ] , [
] , [  ] , [
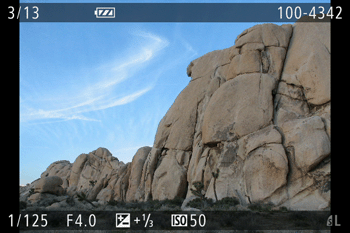
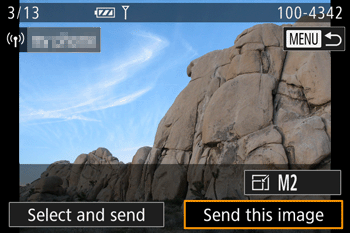
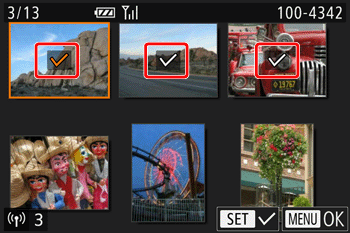
] , [  ] to choose the desired image, and then press the [
  ] button to append a [
  ].
]. ] button again to remove the [
  ].
].
Caution
The smartphone cannot be operated while image selection and sending procedures are performed on the camera.


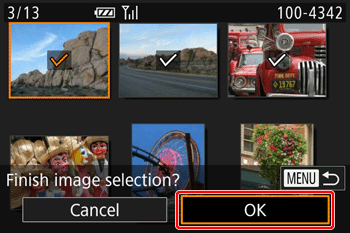


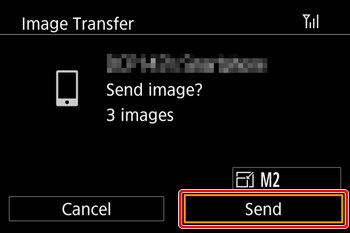

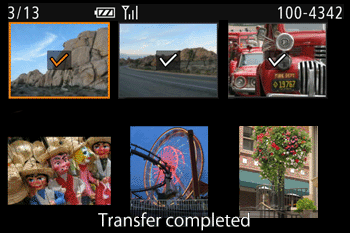
This completes the explanation of the procedures for sending images from the camera.
Operating the smartphone to send images
Procedures for confirming camera images and saving them to a smartphone are explained below.
In order to save images by operating the smartphone, the camera must be set to shooting mode, or its power must be turned off.
Caution


Caution
When Camera Connect is not installed, Google Play™ will start up and the Camera Connect download page will be displayed when you attempt to connect the camera and the smartphone via NFC. In this case, please download and install Camera Connect.

Caution
 ] , [
] , [  ] buttons to choose [OK], and then press the [
  ] button.
 ) is displayed.
  ] , [
] , [  ] buttons to choose the [Nickname] field, press the [
  ] button to display the keyboard, and then enter the desired nickname. After you have finished entering the nickname, press the [ MENU ] button to return to the registration screen, press the [
  ] button, choose [OK], and then press the [
  ] button.

Caution
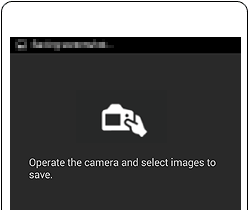
During connection, the following screen appears on the camera.


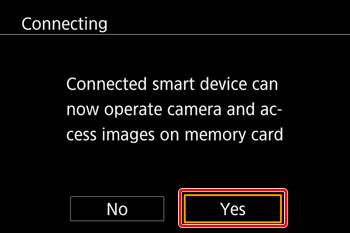
Caution

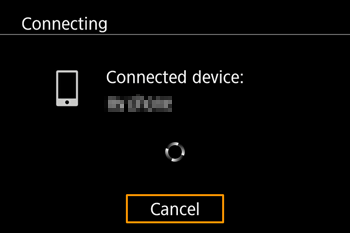


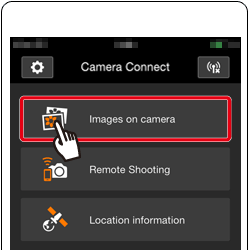

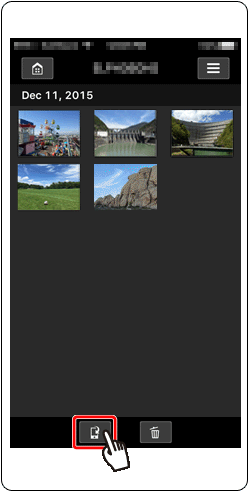


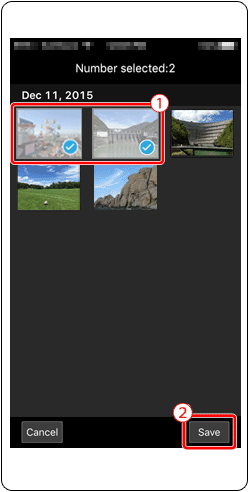

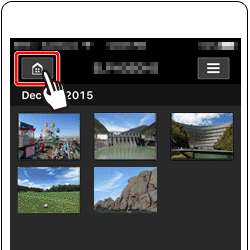


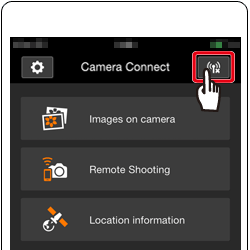

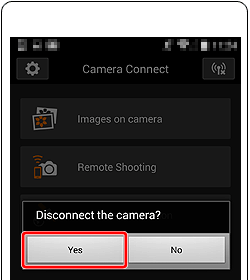


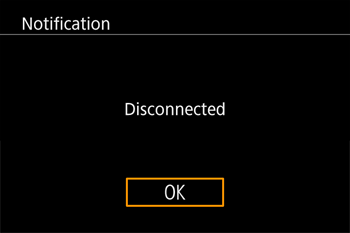
This concludes the explanation of the procedures for operating the smartphone to send images.
*Android™, and Google Play™ are trademarks of Google Inc.


