Solution
1. Holding the Camera2. When the Camera Shake Icon Appears
3. Image is blurred
4. The AF frame does not appear, and the camera does not focus
If images are blurry or not in focus, please confirm the information in the sections below.
Caution
 ].
].1. Holding the Camera
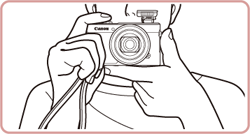
You can prevent camera shake by holding the camera firmly.
2. When the Camera Shake Icon Appears
When you press the [Shutter Button] halfway in low light conditions where camera shake is likely, a flashing 
In this case, please refer to the information below.
1. Press [MENU] button.

2. Choose the [ 


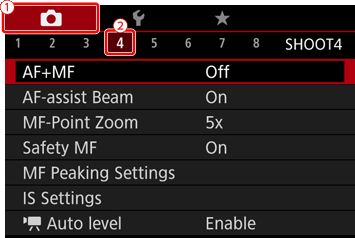
3. Press the [ 


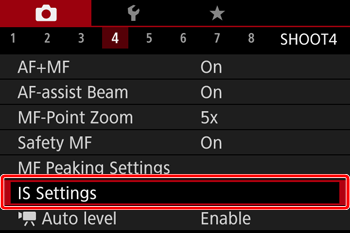
4. Press the [ 


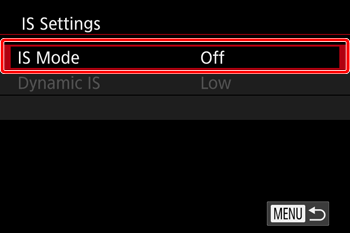
5. Press the [ 


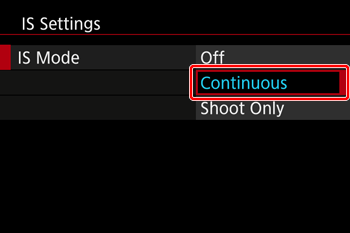
 ).
). 1. Move the [ 

2. Press the [ 


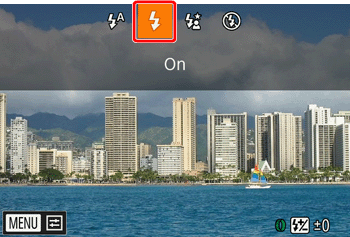
Caution
 ] button. Raise the flash with your finger, then configure the setting.
1. Press the [ 


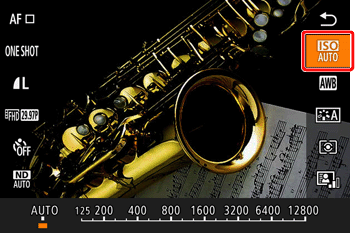
2. Press the [ 


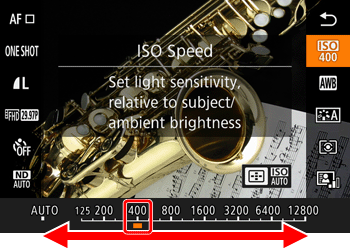
Caution
 ] mode.
* : Options vary depending on the assigned shooting mode.
Additionally, you should set the [ 

Please refer to the following example and be careful not to move the camera while shooting.
3. Image is blurred
Half-press the shutter button (press lightly to focus), and then press it fully (without releasing the shutter button, press it all the way down).

1. Press the [MENU] button.

2. Choose the [ 


3. Press the [ 


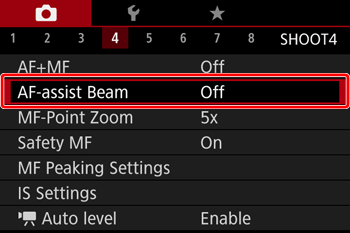
4. Press the [ 


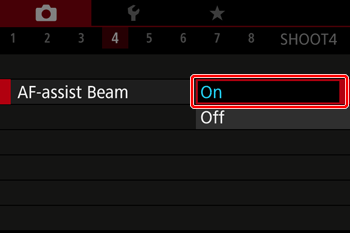
1. Confirm the [Focusing Range] setting.
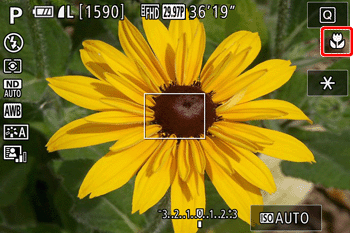
2. Press the [ 


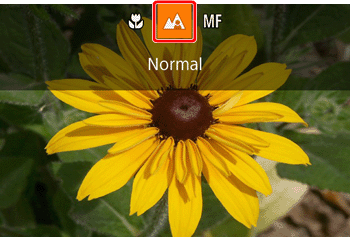
| Shooting Mode | Focus Range | Maximum Wide Angle (  ) ) | Maximum Telephoto (  ) ) |
|---|---|---|---|
 | - | 5 cm - ∞ (2.0 in. - infinity) | 40 cm - ∞ (1.3 ft. - infinity) |
| Other modes | [  : Normal ] : Normal ] | 5 cm - ∞ (2.0 in. - infinity) | 40 cm - ∞ (1.3 ft. - infinity) |
[  : Macro ] / [ : Macro ] / [  : Underwater macro ] : Underwater macro ] | 5 cm - 50 cm (2.0 in. - 1.6 ft.) | - | |
[  : Quick ] : Quick ] | 1.5 m - 20 m (5.0 - 65.6 ft.) | 1.5 m - 20 m (5.0 - 65.6 ft.) |
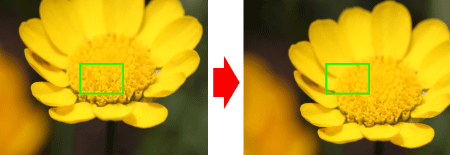
[Focus Lock]
As you continue to hold the shutter button halfway, recompose the shot as desired, and then press the shutter button all the way down.
[AF Lock]
The focus can be locked.
After you lock the focus, the focal position will not change even when you release your finger from the shutter button.
1. With the shutter button pressed halfway, press the [ 
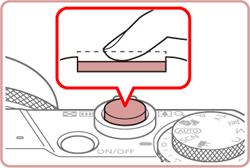
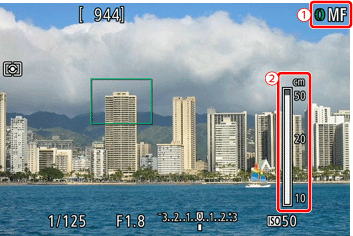
2. The focus is now locked, and [ MF ] ( 

 ] button again.
 3. Compose the shot, and shoot.
Caution
4. The AF frame does not appear, and the camera does not focus
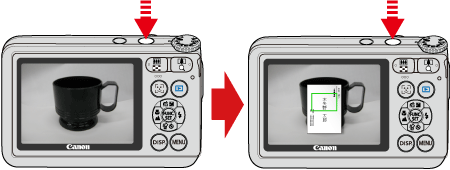
If you center on the light and dark contrasting area of the subject and push the [Shutter Button] halfway, or repeatedly push the [Shutter Button] halfway, the [AF frame] will appear and the camera will focus.
Caution
The camera may not be able to focus in some conditions.


