Solution
Shooting in Creative Shot modeViewing Individual Images in a Group during Playback (Grouped Image Playback)
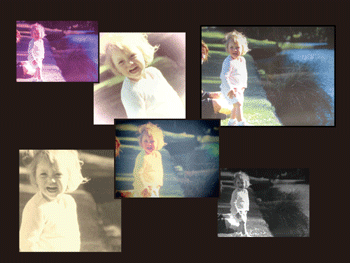
The camera determines the subject and shooting conditions, automatically applying special effects and recomposing the shot to emphasize the subject. Six still images are recorded for each shot. You can capture multiple still images with effects using camera-determined settings.
Shooting in Creative Shot mode
1. Press the power button to turn the camera on.
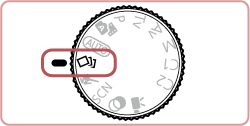
2. Set the mode dial to [ 

3. Turn the [ 
 Auto Auto | All effects |
 Retro Retro | Images resemble old photos |
 Monochrome Monochrome | Images are generated in one color |
 Special Special | Bold, distinctive-looking images |
 Natural Natural | Subdued, natural-looking images |
4. Shoot.

Caution
 ] button. For full-screen display in this state, choose an image by pressing the [
  ], [
], [  ], [
], [  ], [
], [  ] buttons or turning the [
  ] dial, and then press the [
  ] button.
Caution
The six images are managed together as a group.
Viewing Individual Images in a Group during Playback (Grouped Image Playback)
The six images from each shot are managed together as a group, and only the first image in the series is displayed during playback. To indicate that the image is part of a group, [ 
Caution
If you erase a grouped image, all images in the group are also erased. Be careful when erasing images.
1. Press the [ 
2. Press the [ 


3. Press the [ 


4. Pressing the [ 

To cancel group playback, press the [ 


Caution
 5 ] tab ⋗ [Group Images] ⋗ [Off] . However, grouped images cannot be ungrouped during individual playback.


