Solution
Compatible Ink TanksPrecautions when handling ink tanks
When to Replace Ink Tanks
How to Replace Ink Tanks
Compatible Ink Tanks
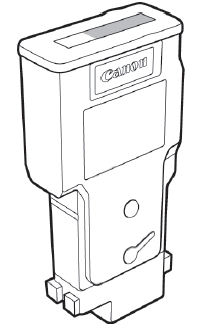
| Colors | Model number | Ink Type | Capacity |
| Matte black | PFI-107 MBK | Pigment ink | 130 ml |
| Black | PFI-107 BK | Dye ink | |
| Cyan | PFI-107 C | ||
| Magenta | PFI-107 M | ||
| Yellow | PFI-107 Y |
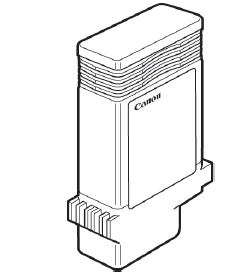
| Colors | Model number | Ink Type | Capacity |
| Matte black | PFI-207 MBK | Pigment ink | 300 ml |
| Black | PFI-207 BK | Dye ink | |
| Cyan | PFI-207 C | ||
| Magenta | PFI-207 M | ||
| Yellow | PFI-207 Y |
Caution
Precautions when handling ink tanks
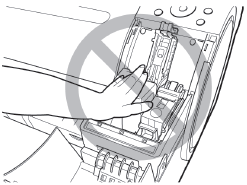
Take the following precautions when handling ink tanks.
Caution
Caution
When to Replace Ink Tanks
Replace or prepare to replace ink tanks in the following situations.
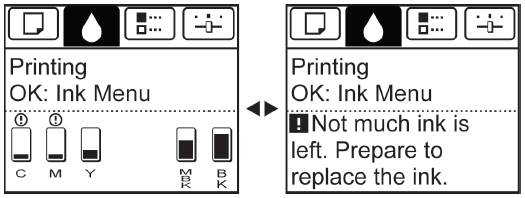
⋖If a message for checking the ink is shown on the Display Screen⋗
When there is little ink left, the [Message Lamp] is lit and "[Not much ink is left]." is shown on the Display Screen. You can continue to print, but prepare to replace the Ink Tank.
Caution
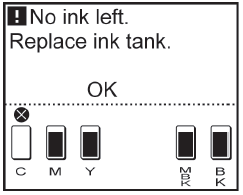
⋖If a message for ink replacement is shown on the Display Screen⋗
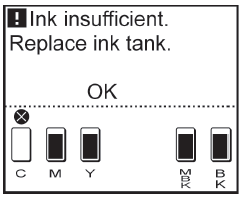
When ink runs out, the [Message Lamp] flashes, a message regarding Ink Tank replacement is shown on the Display Screen, and printing is disabled. Replace the Ink Tank at this point.
Caution
If little ink is left, there may not be enough for large-format printing, head cleaning, and maintenance, which require a lot of ink. In this case, replace or prepare to replace the Ink Tank before maintenance.
How to Replace Ink Tanks
The following steps need to be followed from Control Panel before replacing Ink Tanks. However, if a message requests you to replace an Ink Tank, press the [OK] button. In this case, you can skip the step [Access the menu for ink tank replacement]. Follow the instructions in [Remove the ink tanks].
Caution
Caution
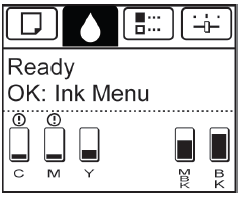
1. On the [Tab Selection screen] of the Control Panel, press 


Caution
2. Press the [OK] button. The [Ink Menu] is displayed.
3. Press 

⋖Remove the Ink Tank⋗
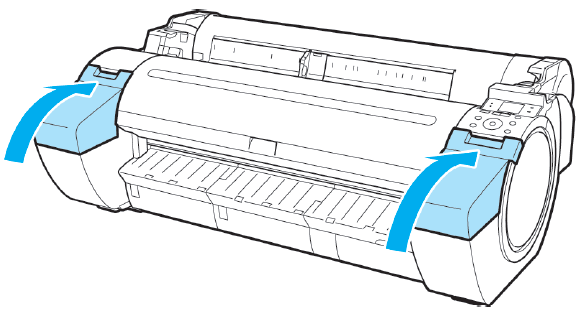
1. Open the Ink Tank Cover and check the ink lamps. Ink lamps flash when there is little ink left.
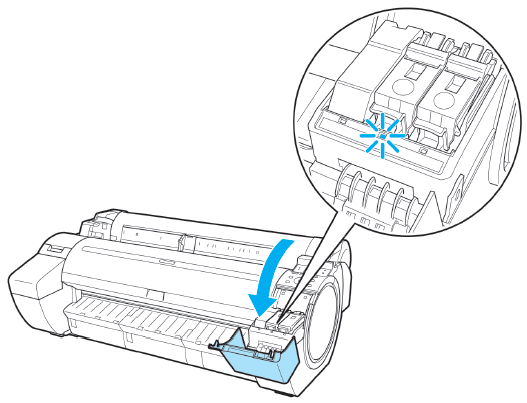
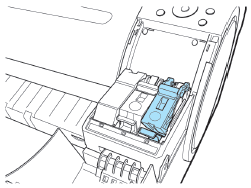
2. Press the tip of the Ink Tank Lock Lever of the color for replacement horizontally and pull the Ink Tank Lock Lever up to open it.
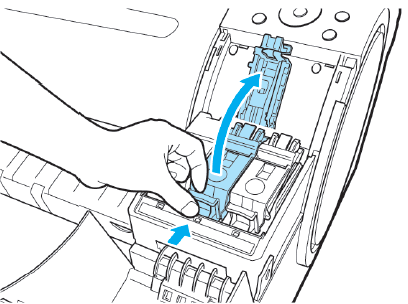
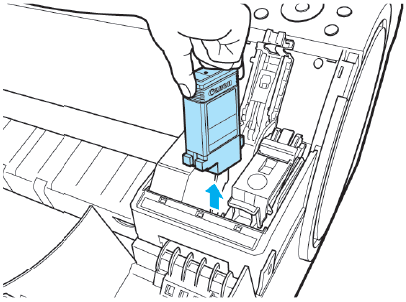
3. Hold the Ink Tank by the grips and remove it. Press the [OK] button.
Caution
Caution
⋖Installing Ink Tanks⋗
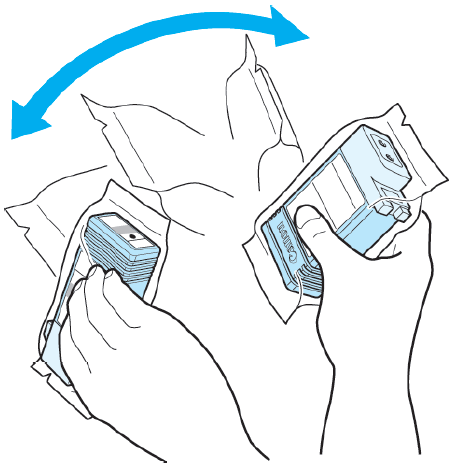
1. Before opening the pouch, gently agitate the Ink Tank once or twice. Agitate the ink in the Ink Tank by slowly rotating the Ink Tank upside-down and right side up repeatedly.
Caution
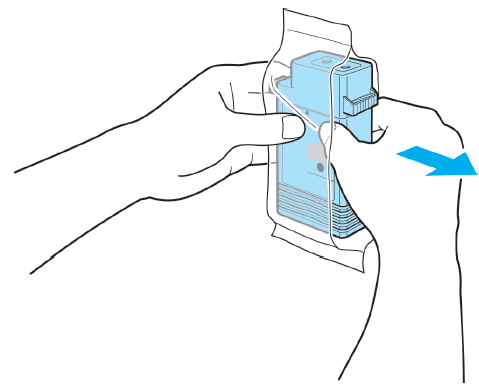
2. Open the pouch and remove the Ink Tank.
Caution
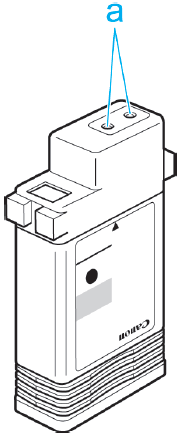
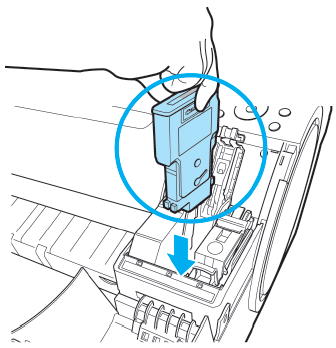
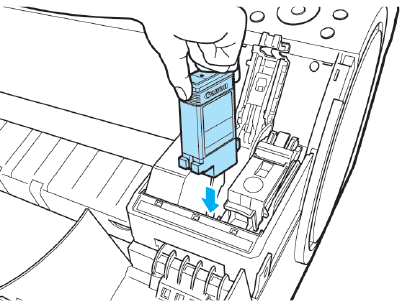
3. Press the [OK] button and install the Ink Tank into the holder as shown, with the ink holes facing down.
Caution
is incorrect.
If the Ink Tank does not fit in the holder, do not force it in. Check the Ink Tank serial number, the Ink Color Label, the color of the Ink Tank, and the orientation of the Ink Tank before reinstalling it. Forcing the Ink Tank into the holder may damage the printer.
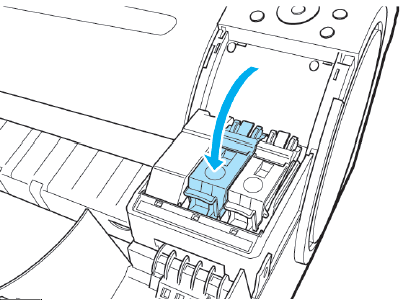
4. Push the Ink Tank Lock Lever closed until it clicks into place.
Caution
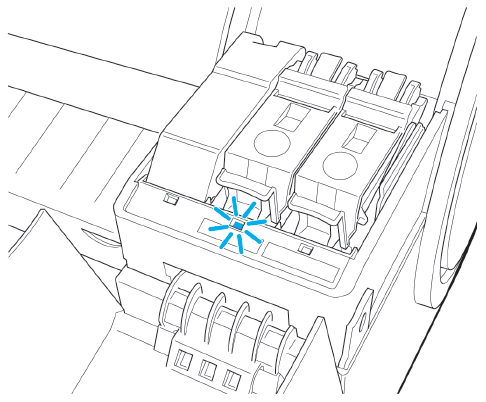
5. Make sure the Ink Lamp is lit in red.
Caution
6. Close the Ink Tank Cover.
