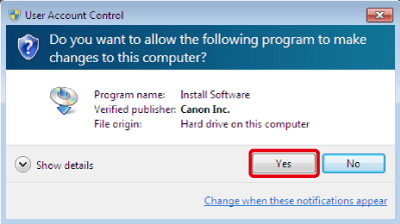
If CameraWindow does not start, uninstalling (deleting) and reinstalling the software is recommended.
(Uninstalling is the process of deleting unnecessary drivers or software in the event that a problem has occurred.)
Caution
Uninstalling CameraWindow
1. Click [Start] (
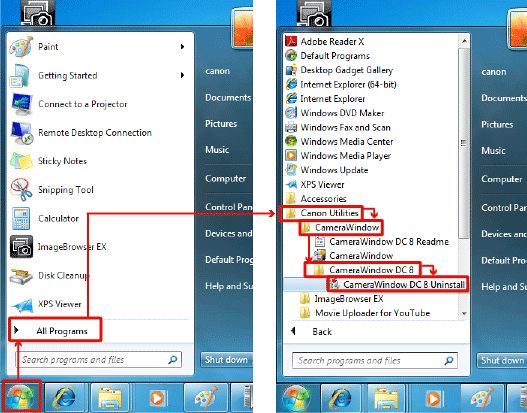
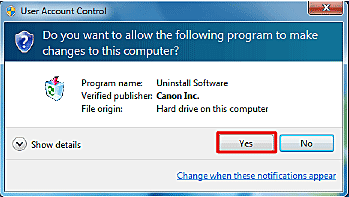
2. If the [User Account Control] screen is displayed, click [Yes].
3. Click [OK].
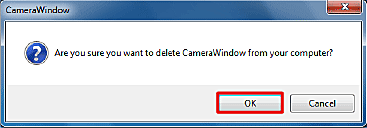
4. The following screen appears, so click [OK].
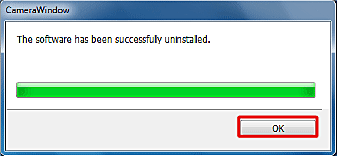
This concludes the process of uninstalling [CameraWindow].
Reinstalling CameraWindow
Reinstall [CameraWindow] after the removal.
Caution
1. Confirm that all open programs have been closed.
2. Download the software from the Canon home page.
Caution
3. Double-click the folder extracted from the contents of the downloaded file.

4. Double-click [CWxx_Installer.exe].

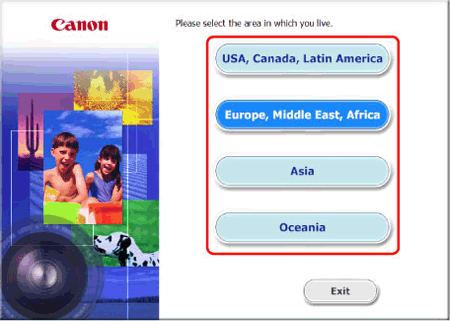
5. Select the area in which you live.
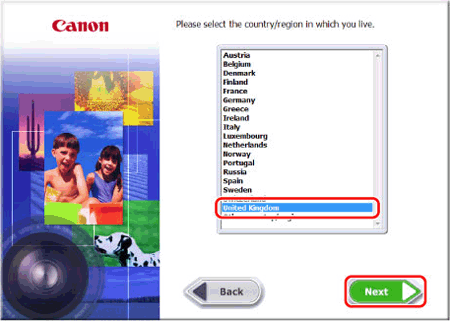
6. Select the country where you live, and then click [Next].
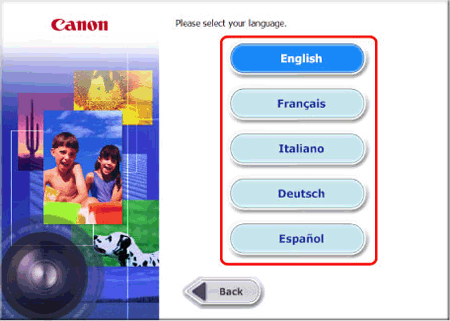
7. Select your language.
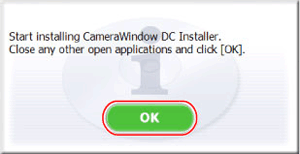
8. Following screen is displayed, so click [OK].
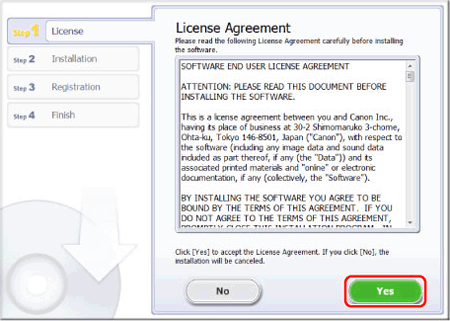
9. Click [Yes] to accept the License Agreement.
Caution
The [User Account Control] screen may be displayed depending on the computer model you use. In this case, please click [Yes].
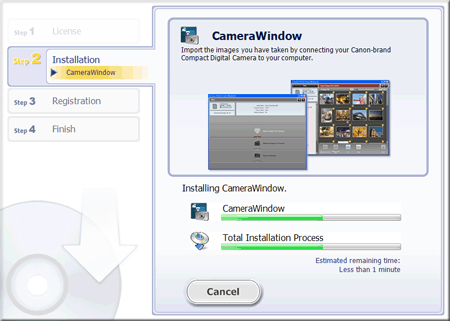
10. The following screen appears, and installation begins.
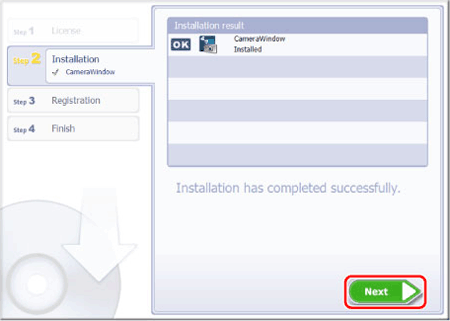
11. When installation is over, click [Next].
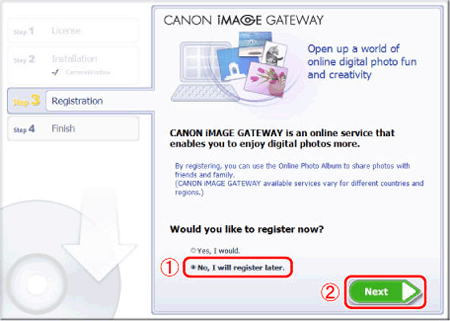
12. The CANON iMAGE GATEWAY registration screen appears.
In this example, 

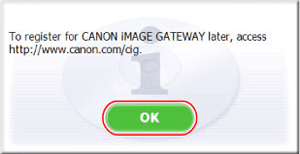
13. The following screen appears, so click [OK].
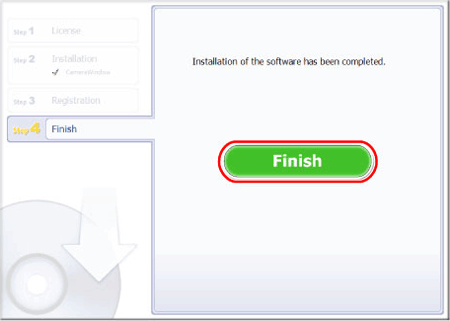
14. A [Finish] screen will be displayed, so click [Finish].
Caution
The [Restart] screen may be displayed depending on the computer model you use. In this case, please click [Restart].
This concludes the explanation for reinstalling [CameraWindow].


