


Wireless Setup Using WPS (Wi-Fi Protected Setup)
Before Starting Wireless Connection Setup
Caution
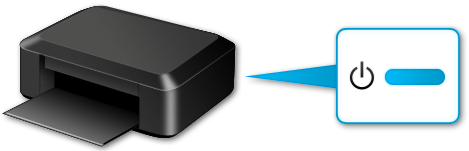
Make sure that the printer is turned on.
1. Make sure that the button on the wireless router is ready to be pressed.
2. Hold down the Wi-Fi button (A) on the printer until the POWER lamp (B) flashes once, then release the Wi-Fi button after the flash.

3. Make sure that the Wi-Fi lamp (C) flashes quickly and the POWER lamp is lit as shown in the illustration on the right above, then press and hold the button on the wireless router within 2 minutes.
4. Make sure that the Wi-Fi lamp and the POWER lamp are lit.

Caution
If the Alarm lamp lights up, see "If the Alarm lamp lights up" below in this page and follow the instructions there.
The wireless LAN setup using WPS is completed.
Install the software.
If the Alarm lamp lights up

After checking the below points, wait for a while and configure wireless connection settings again.
- Press the button on only one wireless router.
- Check the security settings of the wireless router.
Is the network device (router, etc.) turned on? If the network device is already turned on, turn it off, then turn it back on.
After checking the points described below, wait for a while and configure wireless connection settings again.
- Are the computer and network device configured?
- Are the wireless router and printer installed in an open space where wireless communications are possible?
- Is the wireless router operating in IEEE802.11n (2.4 GHz), IEEE802.11g or IEEE802.11b?