

Issue
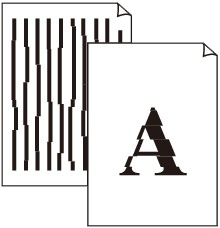
When the lines on the print results are misaligned, check the items below.
Cause and solution
Check 1: Perform Print Head Alignment
If printed lines are misaligned or print results are otherwise unsatisfactory, adjust the print head position.
If printed ruled lines are misaligned or print results are otherwise unsatisfactory, adjust the print head position.
You need to prepare: two sheets of A4 or Letter-sized plain paper
1.Make sure that the power is turned on.
2.Make sure that two or more sheets of A4 or Letter-sized plain paper are loaded in the Rear Tray.
3.Open the Paper Output Tray gently.
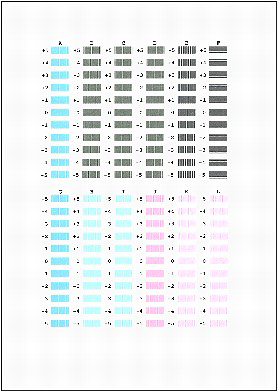
4.Print the print head alignment pattern.
(1) Press the Menu button repeatedly until Maintenance appears.
(2) Use the 


The print head alignment pattern will be printed, and the Set head align value screen will appear.
Caution
(-) or (+) button to select Print head align value to print the current head position adjustment values.5.Adjust the print head position.
(1) Check the printed patterns, and use the
Caution
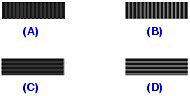
(A) Less noticeable vertical white streaks
(B) Noticeable vertical white streaks
(C) Less noticeable horizontal white streaks
(D) Noticeable horizontal white streaks
(2) Repeat the same procedure to input the pattern number for each column from B to L.
(3) Confirm the message for print head alignment, and press the OK button.
The second page of print head alignment sheets will be printed.
(4) Check the printed patterns and use the
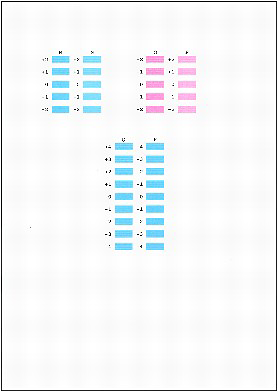
(5) Repeat the same procedure to input the pattern number for each column from N to R.
Cause and solution
Check 2: Upgrade the print quality

1. Open the printer driver setup window.
2. Select Custom for Print Quality on the Main tab, and click Set....
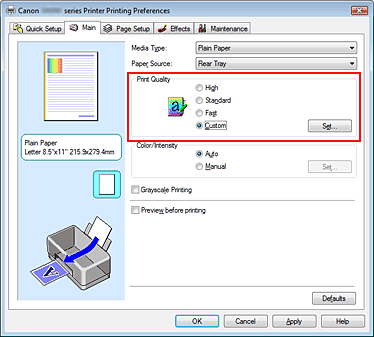
The Custom dialog box opens.
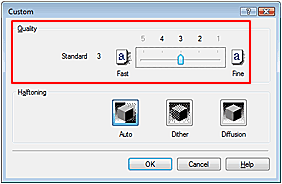
3. Using the slide bar in [Quality], upgrade print quality.
4. Click OK on the Main tab.
Execute printing, and the print results will be output with the quality level you selected.
Caution
Cause and solution

1. Select Quality & Media from the pop-up menu on the Print Dialog.
2. Select Custom for Print Quality.
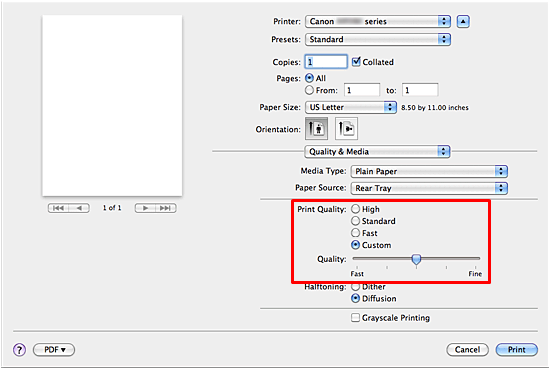
3. Using the slide bar in [Quality], upgrade print quality.
4. Click Print.
Execute printing, and the print results will be output with the quality level you selected.
Caution