

Wireless Setup Using WCN (Windows Connect Now)
Before Starting Wireless Connection Setup
Caution
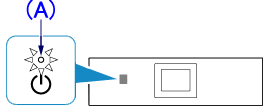
Make sure that the printer is turned on.
If the power is on, the (white) POWER lamp (A) will be lit.
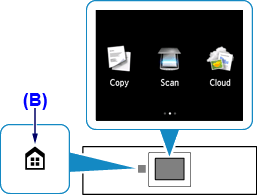
1. If the HOME button (B) on the printer is lit, touch the HOME button.
2. Flick the screen left or right, then tap the WLAN icon.
Tap [ Wireless LAN setup ].
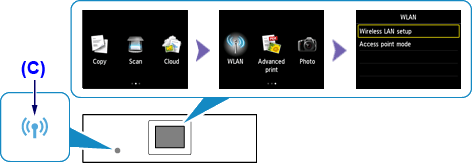
The (blue) Wi-Fi lamp (C) lights up when wireless connection is enabled.
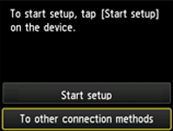
3.
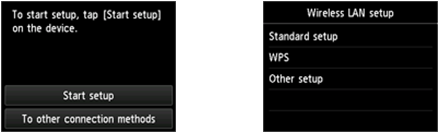
When the screen left above is displayed, go to the step 4.
When the screen right above is displayed, go to the step 5.
4. Tap [ To other connection methods ] on the printer.
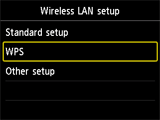
5. Tap [ WPS ].
6. Tap [ PIN code method ].
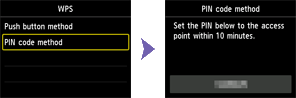
When the right screen appears, write down the PIN code.
7.
- Windows 7
(1) From the [ Start ] menu of the computer, select [ Computer ].
(2) Select [ Network ].
- Windows 8
(1) Right click on the [ Start ] screen of the computer.
(2) Click [ All apps ] in the App bar.
(3) Select [ Computer ].
(4) Select [ Network ].
- Windows Vista
(1) From the [ Start ] menu of the computer, select [ Network ].
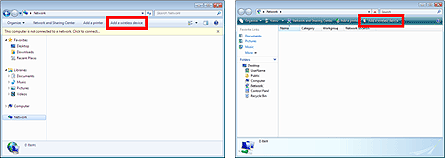
8. Select [ Add a wireless device ] on the menu or [ Add devices and printers ] on the Network menu.
9. Follow the on-screen instructions on the computer to proceed with setup, then enter the PIN code.
If connection is not established, try standard setup.
-⋗ [ Wireless LAN connection of your printer to an access point in the standard setup method ]
10. When the left screen appears, tap [ OK ].
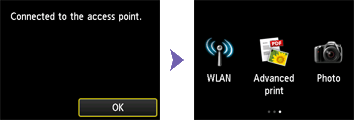
The wireless LAN setup using WCN is completed.
Install the Software.
-⋗ [ Install the Software ]