

Solution
How to re-set up the network using the CD-ROM packed with the printerHow to re-set up the network using Canon IJ Network Tool downloaded from Canon Website
In the network environment, after you upgrade Windows Vista to SP1 /SP2, scanning through the network using the printer operation panel cannot be performed.
In that case, the network needs to be set up again. Follow the procedures below to set up the network.
The software to re-set up the network is not installed in your PC. Perform the network setting using the CD-ROM packed with the printer.
If the packaged CD-ROM is not available, download Canon IJ Network Tool from the Canon Web site, and perform the network setting.
Caution
The network cannot be re-set up with the Canon IJ Network Tool which has already been installed in your PC.
How to re-set up the network using the CD-ROM packed with the printer
1. Insert the Setup CD-ROM packed with the printer into the CD-ROM drive of your PC.
2. At the installation window, click Exit.
3. Double-click My Computer or Computer on the desktop.
4. Right-click the drive icon where the CD-ROM is inserted, and click Open.
5. The files in the CD will be displayed.
Click the folders of win⋗LAN⋗English, then double-click SETUP.EXE.
6. Canon IJ Network Tool will start.
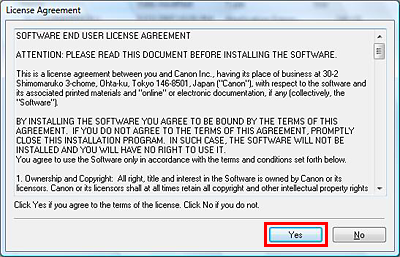
Confirm the contents of the license agreement, then click Yes.
7. Confirm the contents in the Setup Preparations window, then click Next.

Caution
In the environment where the LAN connection is already used, it is not necessary to connect the PC and the printer with a USB cable.
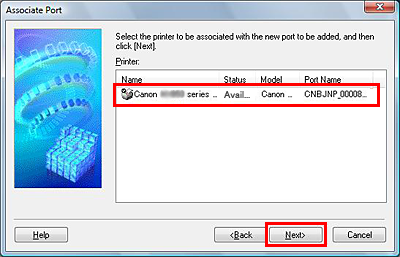
8. Select the printer you are using in the Associate Port window, then click Next.
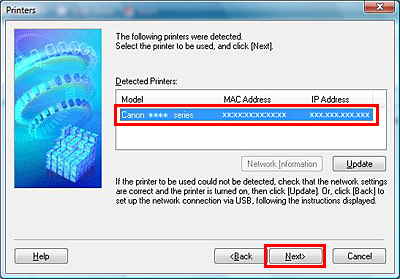
9. Select the printer you are using in the Detected printers list, then click Next.
10. When the Setup Completion window is displayed, click Finish.

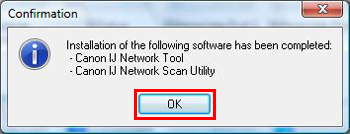
11. When the following window is displayed, click OK.
12. When the Setup Completion window is displayed, click Finish.

Caution
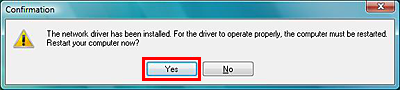
When the following Confirmation window is displayed, click Yes.
The end of the procedures.
How to re-set up the network using Canon IJ Network Tool downloaded from Canon Website
1. Double-click the downloaded file to extract it.
After the file is extracted, the installer will be automatically launched.
2. Confirm the contents of the license agreement, then click Yes.
3. Confirm the contents in the Setup Preparations window, then click Next.
Caution
In the environment where the LAN connection is already used, it is not necessary to connect the PC and the printer with a USB cable.
4. Select the printer you are using in the Associate Port window, then click Next.
5. Select the printer you are using in the Detected printers list, then click Next.
6. When the Setup Completion window is displayed, click Finish.
7. When the following window is displayed, click OK.
8. When the Setup Completion window is displayed, click Finish.
Caution
When the following Confirmation window is displayed, click Yes.
The end of the procedures.