

Installing Software
Caution
- Log on as an Administrator to install the software.
- Make sure the machine is turned ON.
- Make sure the network cable is connected to the machine.
- If you want to use the machine as a network scanner, it must be connected to a computer over an IPv4 network.
- Make sure an IP address is assigned to the machine. (See "Setting the IP Address.")
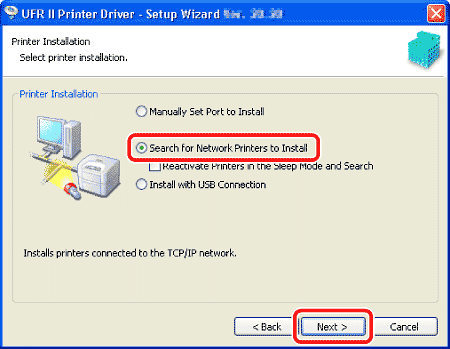
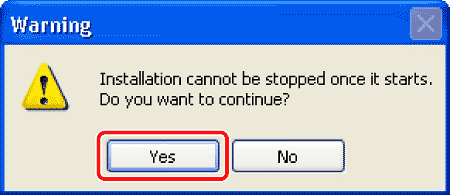
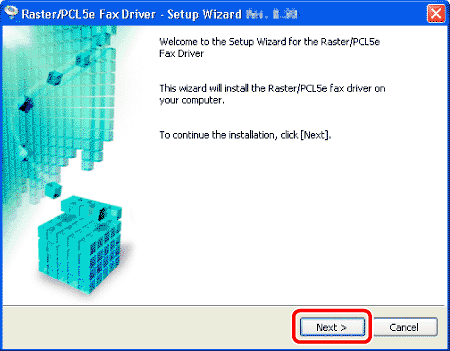
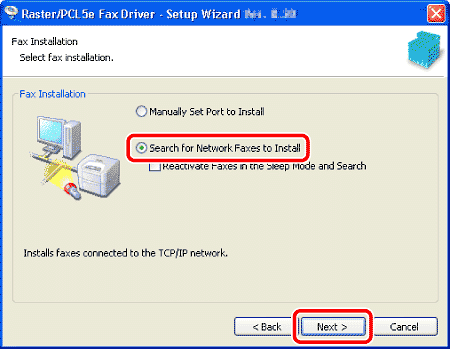
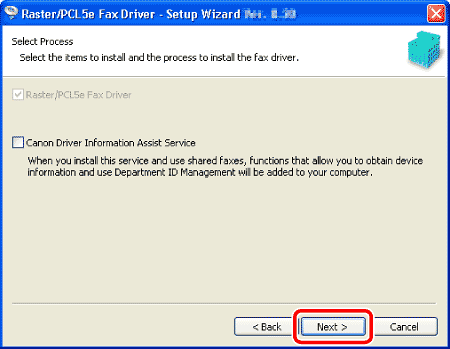
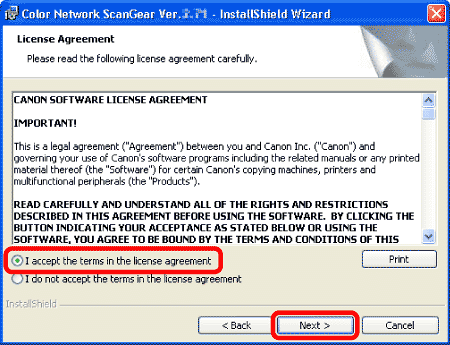
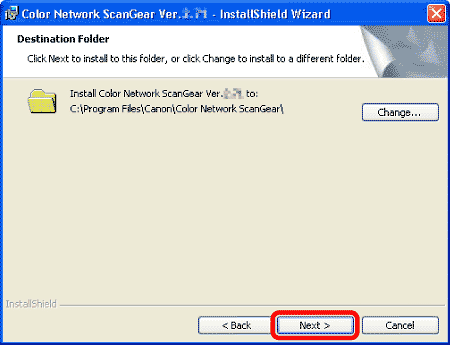
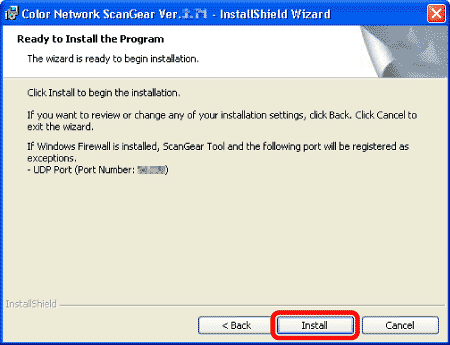
- Click on the circled button on each screen to proceed to the next step.
1.
Connect the machine to the network correctly, and confirm that the power is ON.
2.
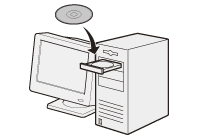
Insert the UFRII LT/FAX User Software CD-ROM.
Caution
3.
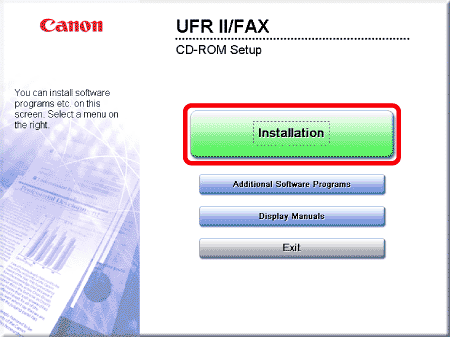
If the CD-ROM Setup screen is not displayed, click [start] on the Windows task bar → [My Computer].
Windows 2000: double-click [My Computer] on the Windows desktop.
Windows Vista/7/Server 2003/Server 2008: click [Start] on the Windows task bar → [Computer] ([My Computer]).
Open the CD-ROM icon, then double-click [MInst] ([MInst.exe]).
Caution
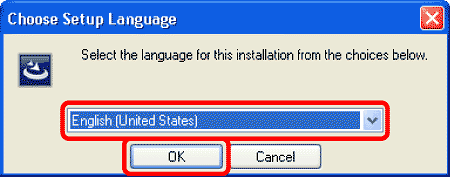
If a language selection screen is displayed before the CD-ROM Setup screen, select a language and then click [Next].
4.

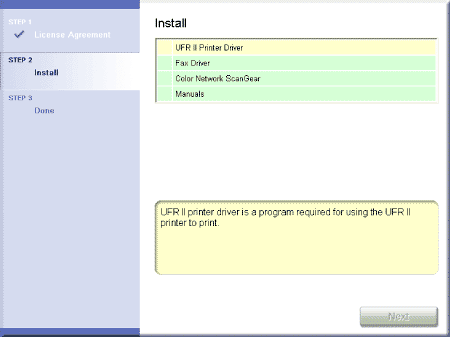
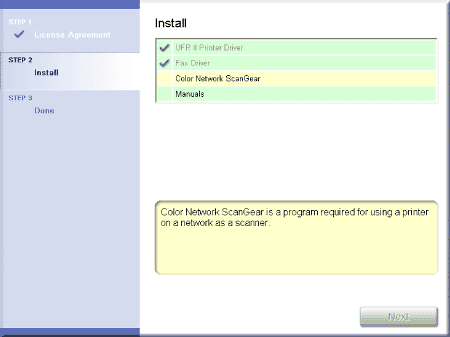
Make sure that the boxes next to the UFR II Printer Driver, FAX Driver, Color Network ScanGear and Manuals are checked. Unchecked items will not be installed.
Caution
5.
6.
7.

8.
9.

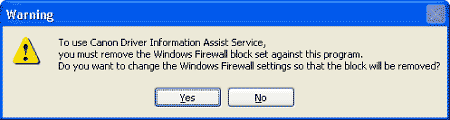
Caution

10.
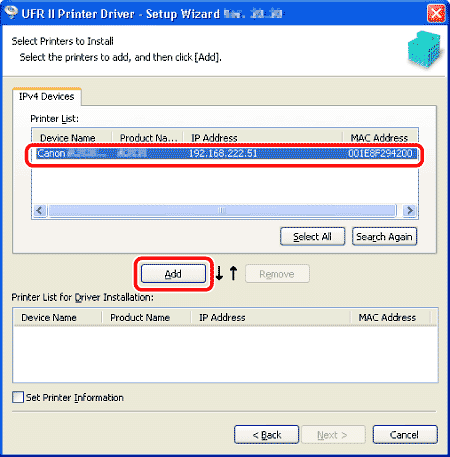
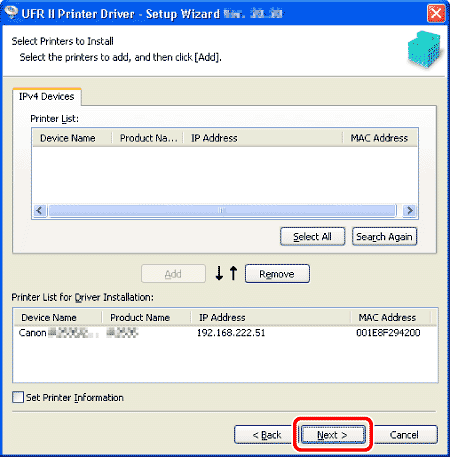
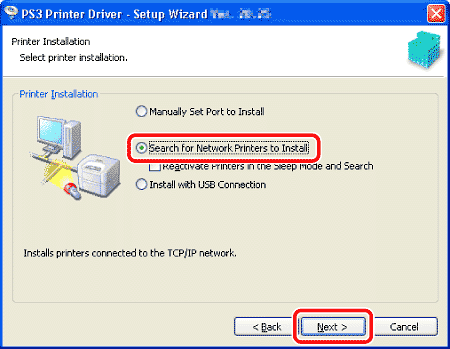
Select the machine (Product Name: MF9280 or MF9220) using the information displayed in ⋖Printer List⋗ → press [Add].
Caution
If the machine's information is not displayed in ⋖Printer List⋗ on the screen, click [Search Again].
11.
12.
13.
14.

15.

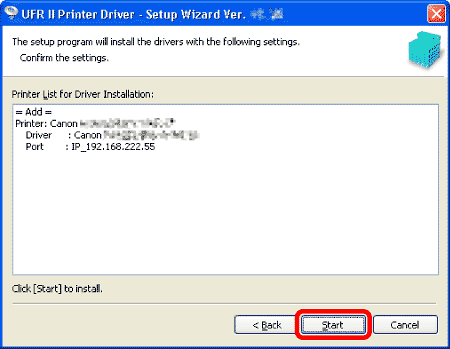
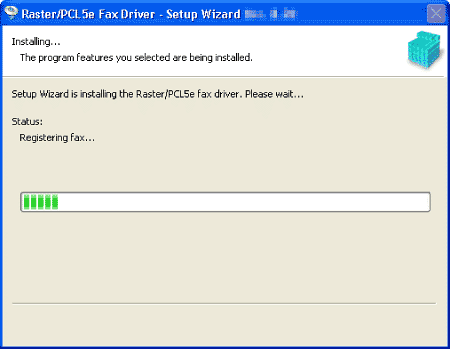
Installation of the printer driver is completed and the installation of the fax driver will begin.
Caution
If the optional Super G3 FAX Board is not installed on the imageCLASS MF9220Cdn, proceed to step 25.
16.
17.
18.
Caution
19.
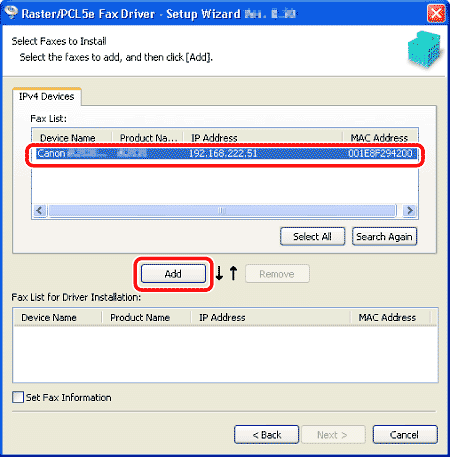
Select the machine (Product Name: MF9280 or MF9220) using the information displayed in ⋖Fax List⋗ → press [Add].
20.
21.
22.

23.
24.
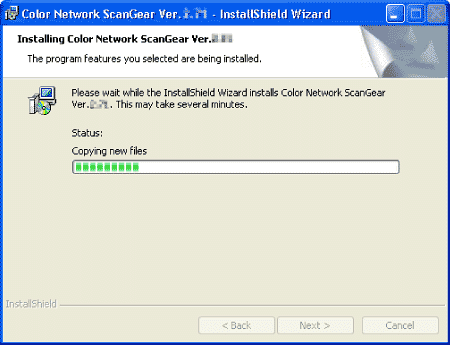
Installation of the fax driver is completed and the installation of Color Network ScanGear will begin.
25.
Select the same language as your operating system.
26.
27.
28.
29.
30.
31.
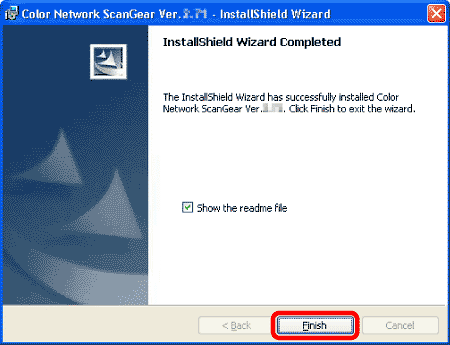
Caution
The Readme file opens. After reading through the information provided, proceed to the next step.
32.
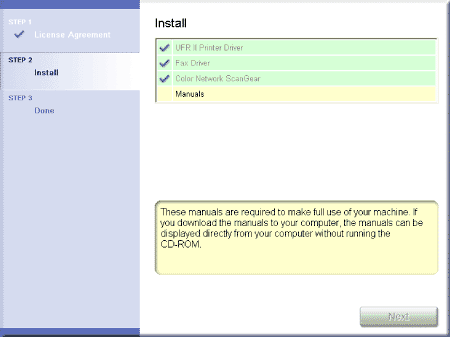
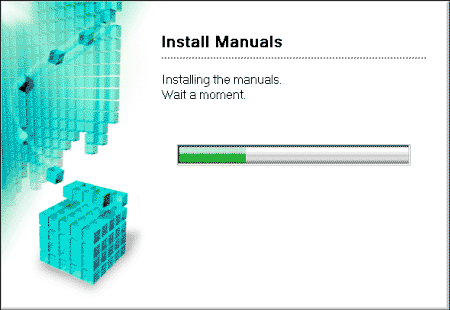
Installation of Color Network ScanGear is completed and the installation of the manuals will begin.
33.
34.
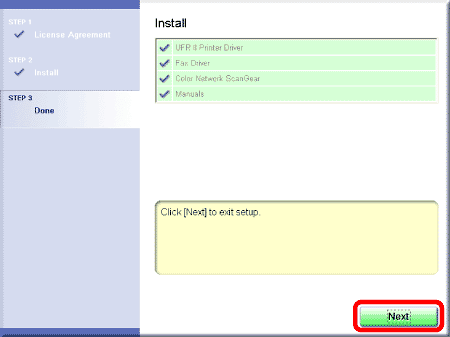
The Printer Driver Installation Guide and the Fax Driver Installation Guide are installed on your computer and shortcuts are created on the desktop.
35.
36.
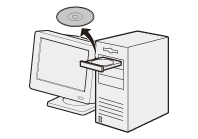
Remove the UFRII LT/FAX User Software CD-ROM.
Caution
37.
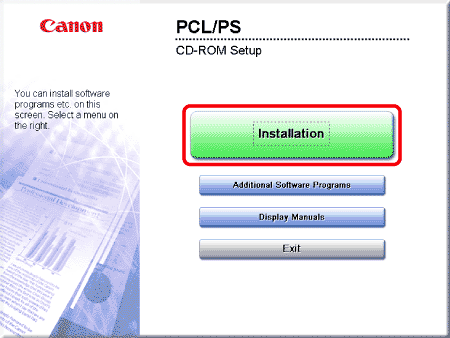
Insert the PCL/PS User Software CD-ROM (imageCLASS MF9280Cdn only).
38.
If the CD-ROM Setup screen is not displayed, click [start] on the Windows task bar → [My Computer].
Windows 2000: double-click [My Computer] on the Windows desktop.
Windows Vista/7/Server 2003/Server 2008: click [Start] on the Windows task bar → [Computer] ([My Computer]).
Open the CD-ROM icon, then double-click [MInst] ([MInst.exe]).
Caution
If a language selection screen is displayed before the CD-ROM Setup screen, select a language and then click [Next].
39.
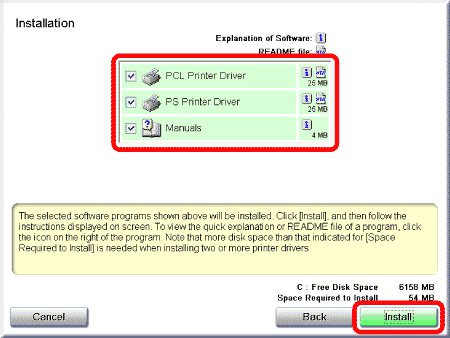
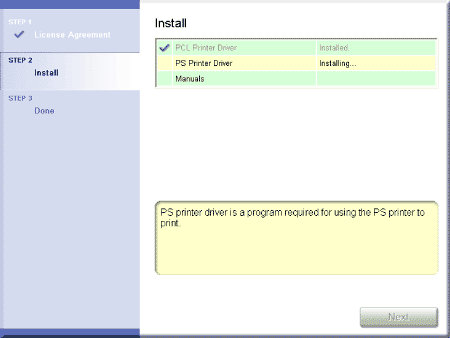
Select the PCL Printer Driver, PS Printer Driver and Manuals.
40.
41.

42.

43.

44.
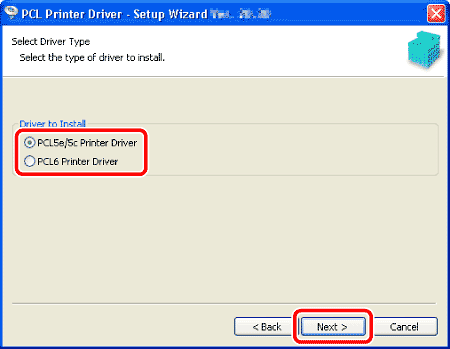
Select [PCL5e/5c Printer Driver] or [PCL6 Printer Driver].
45.
Caution

46.
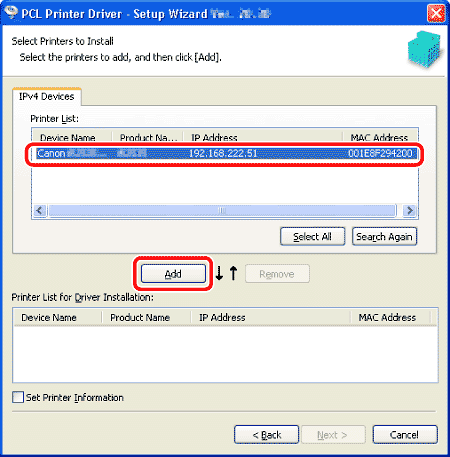
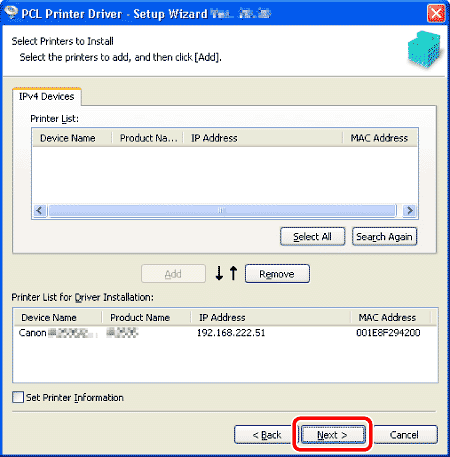
Select the machine (Product Name: MF9280) using the information displayed in ⋖Printer List⋗ → press [Add].
47.
48.

49.

50.
51.
52.
53.
54.
Caution

55.

Select the machine (Product Name: MF9280) using the information displayed in ⋖Printer List⋗ → press [Add].
56.

57.

58.
59.
60.
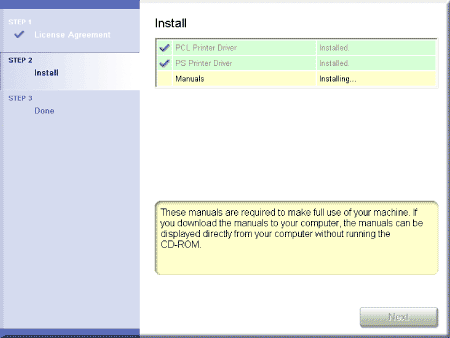
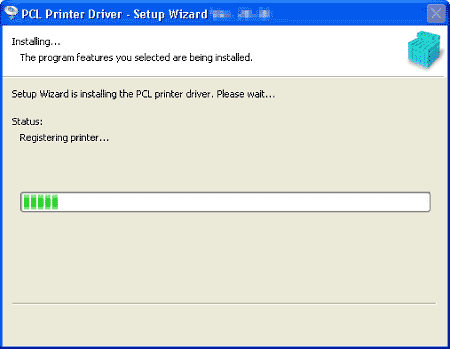
Installation of the printer drivers is completed and the installation of the manuals will begin.
61.
62.
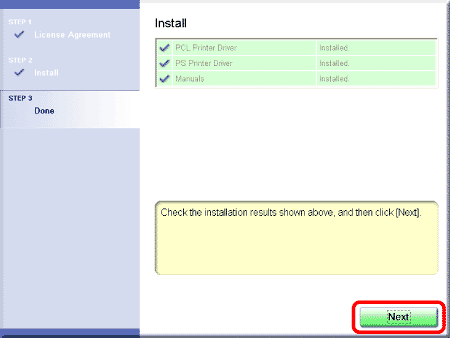
The Printer Driver Installation Guides are installed on your computer and shortcuts are created on the desktop.
63.

64.
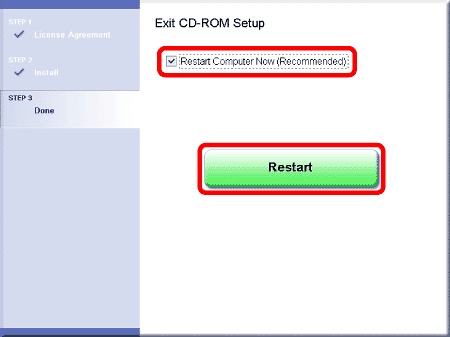
Remove the PCL/PS User Software CD-ROM. Installation is complete.
Checking the Installation
Verify that the drivers have been installed successfully and that the machine has been set as the default printer.
Caution
If the name of your machine is selected on the [Printer] screen from an application, it is set as the default printer.
1. Open the [Printers], [Printers and Faxes], or [Devices and Printers] folder.
Windows 2000: From the Windows task bar, click [Start] → [Settings] → [Control Panel] → double-click [Printers].
Windows XP/Server 2003: From the Windows task bar, click [start] or [Start] → select [Printers and Faxes].
Windows Vista/Server 2008: From the Windows task bar, click [Start] → select [Control Panel] → [Hardware and Sound] → double-click [Printers].
Windows 7/Server 2008 R2: From the Windows task bar, click [Start] → select [Devices and Printers].
Verify that the printer driver icons are displayed.
2. Set your machine as the default printer.
Right-click the printer icon for this machine and then click [Set as Default Printer] or [Set as default printer].
3. Verify that [Color Network ScanGear] appears in the program list.
Windows 2000: From the Windows task bar, click [Start] → [Programs].
Windows XP/Server 2003: From the Windows task bar, click [start] or [Start] → select [All Programs].
Windows Vista/7/Server 2008: From the Windows task bar, click [Start] → select [All Programs].
Verify that the [Color Network ScanGear] is listed in [All Programs] (or [Programs]).