


Uninstalling the Driver (for Windows)
This explains the procedure for uninstalling a driver. There are two methods for uninstalling: starting the uninstaller from Windows, and using the uninstall file.

Confirm that the following conditions are satisfied. Complete the preparation operations.
- Drivers installed using WSD must be uninstalled from [Devices and Printers], [Printers and Faxes], or [Printers]. For Windows 10, uninstall from [Settings] ⋗ [Devices] ⋗ [Printers & scanners] ⋗ [Printers].

1. Start the uninstaller of the driver.
1-A-1. Display [Settings] ⋗ [System] ⋗ [Apps & features].
1-A-2. Select the driver you want to uninstall → click [Uninstall].
1-B-1. Display [Control Panel] ⋗ [Programs] ⋗ [Uninstall a program].
1-B-2. Select the driver you want to uninstall → click [Uninstall/Change].
2. Select the name of the device you want to uninstall → click [Delete].
[Cleanup]: Click this to simultaneously delete all files and registry information relating to all of the drivers displayed in the list, not just the selected driver. Click [Delete] to perform a normal uninstallation of the driver.
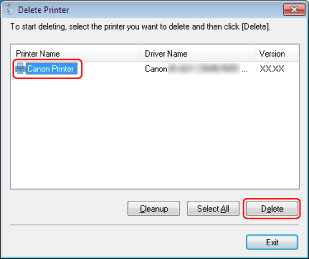
3. If the confirm deletion message is displayed, click [Yes].
4. In the [Delete Printer] screen, click [Exit].
You can uninstall a driver with the uninstall file in the supplied CD-ROM or the installation folder.
*Specify the folder for your language in [xxxx].
1. Double-click [UNINSTAL.exe] stored in the following folder.
32-bit version: UFRII\[xxxx]\32BIT\misc
64-bit version: UFRII\[xxxx]\x64\misc
32-bit version: PCL6\[xxxx]\32BIT\misc
64-bit version: PCL6\[xxxx]\x64\misc
32-bit version: PS3\[xxxx]\32BIT\misc
64-bit version: PS3\[xxxx]\x64\misc
2. Go to 3. of "To Uninstall Using the Uninstaller."
Uninstalling the Driver (for macOS)
It is recommended that you use the Installer to uninstall an unnecessary driver.
Caution
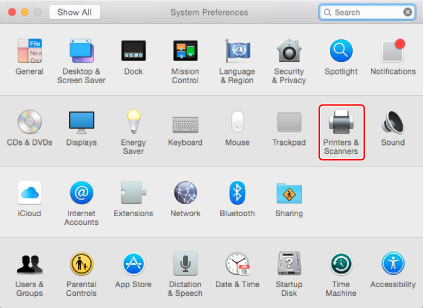
1. Click the [Print & Scan]/[Printers & Scanners] icon in [System Preferences].
2. Select the printer you use, then click [-].
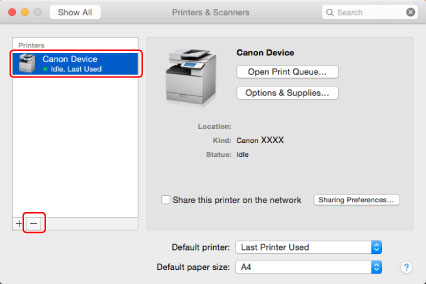
3. Delete the printers that are registered, then close the [Print & Scan]/[Printers & Scanners] dialog box.
4. Open Finder application of your macOS.
5. Select [Go] → [Go to Folder] from the menu bar.
6. Enter the following folder locations, click [Go], then delete the files and folders.
| Location | Files and folders to delete |
|---|---|
| /Library/Printers/Canon/ | CUPS_Printer or CUPSPS2 |
| /Library/Printers/PPDs/Contents/Resources/ | CNPZU****ZU.ppd.gz or CNMC****S2.ppd.gz |
 Where *** indicates a character string that represents the printer model.
 Caution
When the [Authenticate] dialog box is displayed
7. Close all open windows.
8. Restart your computer.
The printer driver is uninstalled.